Easy Steps for Installing your Peel & Stick Wallpaper like a Pro.
Your Complete Installation Guide
Transform Your Space with Ease.
Learn how to install your peel & stick wallpaper like a pro with this comprehensive guide. Say goodbye to traditional wallpapering methods!
Introduction
Installing your Peel & Stick wallpaper is a simple and transformative way to refresh any room. With the right tools and a bit of preparation, you can achieve professional-looking results without the hassle and mess of traditional wallpapering methods. This guide will walk you through each step, from preparation to installation and care, ensuring a smooth and successful project. Whether you’re a DIY enthusiast or a first-time wallpaper hanger, you’ll find these instructions clear and easy to follow.
• Wallpaper is Peel-and-Stick, so no messy and wet glue is required!
• Choose from textured vinyl or smooth vinyl
• Six different sizes to choose from including a 2’ x 1’ swatch for customers that want to sample the paper.
Prepare for Perfection
Preparation
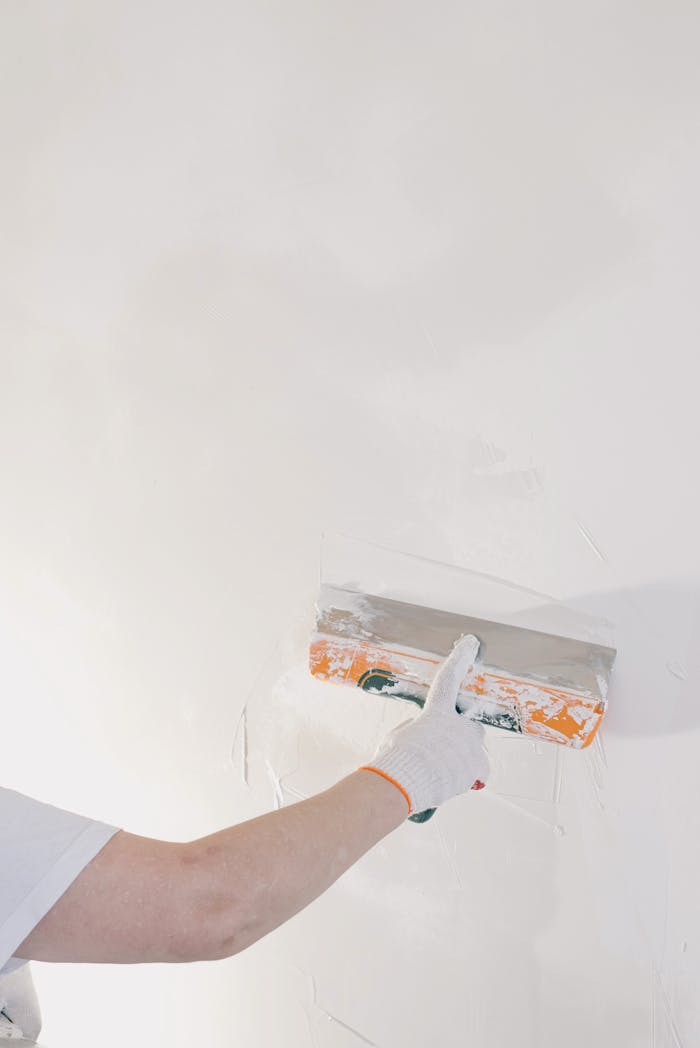
When it comes to installing your peel & stick wallpaper, proper preparation is key to a successful outcome. Gather all the necessary supplies and tools, clean the walls thoroughly, and ensure the surface is smooth and free of imperfections. Additionally, measure the height and width of the wall accurately to determine the amount of wallpaper needed. Make sure to calculate the number of rolls required, considering the pattern repeat and adding extra length for alignment and mistakes.
Perfect alignment
Hanging Spots
Before installing your peel & stick wallpaper, mark vertical guidelines on the wall using a level and pencil. Cut the wallpaper strips, allowing for a few extra inches at the top and bottom for trimming. Start by peeling back the backing and aligning the strip with the guidelines. Smooth the wallpaper with a felt squeegee as you peel off more backing, working from the top down to avoid air bubbles and wrinkles.
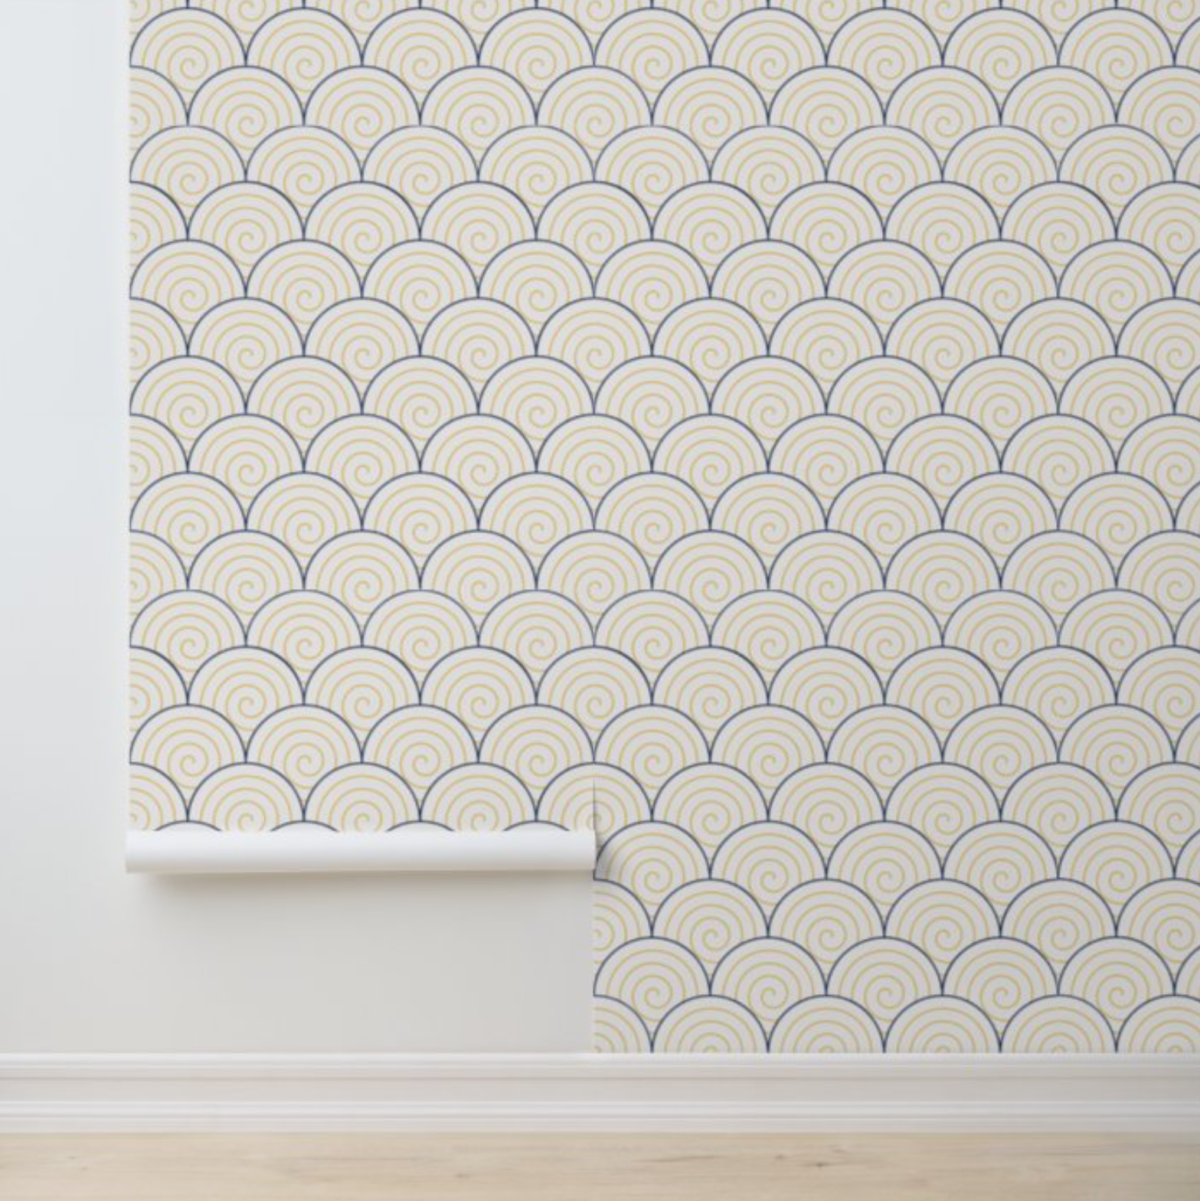
seamless touch
Seam Alignment and Trimming
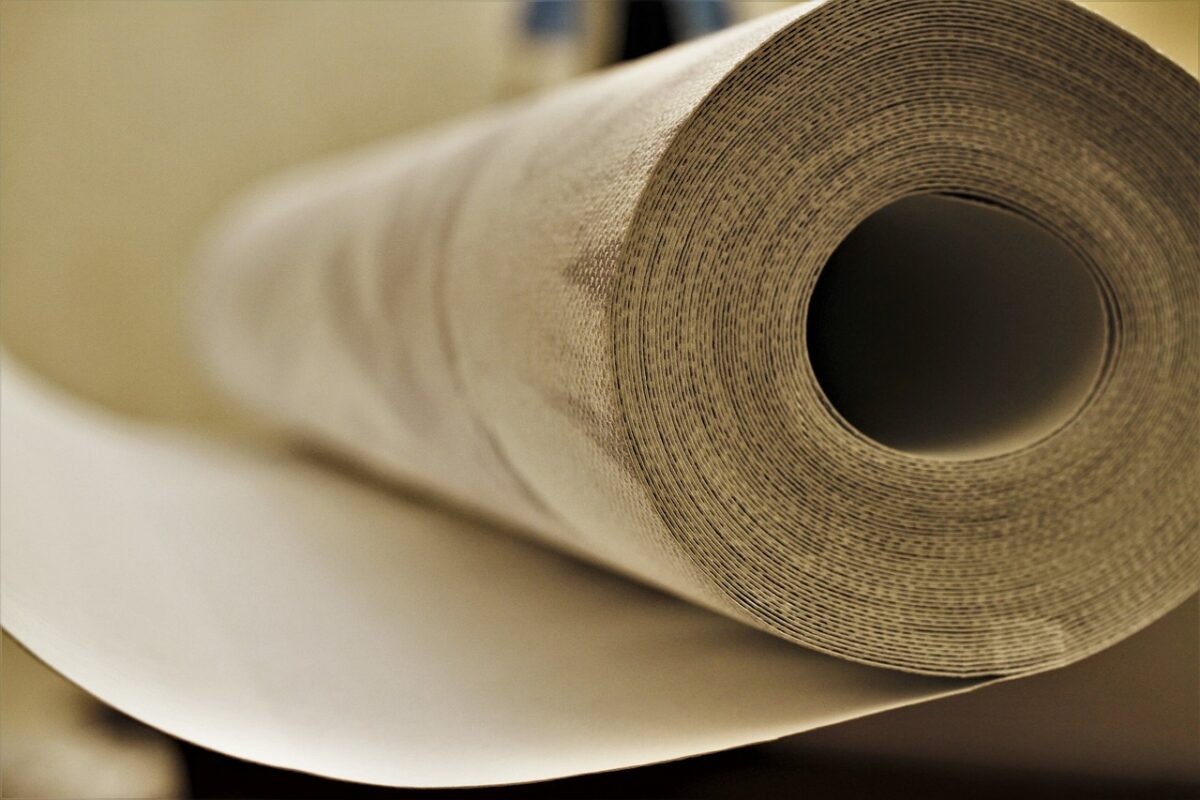
Carefully align the edges of the peel and stick wallpaper strips without overlapping to create a seamless look. Pay close attention to pattern matching, adjusting the strips as necessary to ensure a perfect match at the seams. Once aligned, use a seam roller to press the edges firmly and trim any excess wallpaper at the ceiling, baseboard, and around fixtures using a straight edge and a breakaway knife.
Tips and Troubleshooting
To ensure a smooth installation, pay extra attention to pattern alignment, adjust patterns as needed, and address any air bubbles that may form by puncturing them with a pin and smoothing out the area.
When dealing with corners, cut the peel & stick wallpaper to fit snugly around inside corners and wrap it around outside corners for a seamless finish.
For electrical outlets and switches, turn off the power, remove the covers, wallpaper over the area, cut around the outlets and switches, and replace the covers.
Maintenance
To maintain your peel & stick wallpaper, wipe it with a damp cloth when cleaning and avoid using harsh cleaners that can damage the material.
When it comes time to remove the wallpaper, gently peel from a top corner at a 45-degree angle to avoid wall damage. If the wallpaper resists, use a hairdryer or heat gun to warm the adhesive for easier removal.
By following these steps and tips, you can successfully install your peel & stick wallpaper and achieve a fresh new look for your space.
Enjoy the process and the transformation it brings to your home!
Installing your Peel & Stick Wallpaper
Preparation
Supplies
• Tools (included in the install kit): Breakaway knife, felt squeegee
• Additional Tools: Tape measure, pencil, level, straight edge, step ladder, seam roller
• Materials: Peel & stick wallpaper rolls, repair compound (if needed)
Additional Supplies for Complicated Installations
• Primer: For walls with old paint or difficult surfaces, apply a wallpaper primer to ensure better adhesion.
• Painter’s Tape: Use to protect adjacent surfaces and to help position the first strip correctly.
Clean
• Walls: Wipe walls with a damp cloth to remove dust and dirt.
• Drying: Let the walls dry completely to ensure good adhesion.
Surface
• Smooth Surface: Ensure walls are smooth and free of dust, grease, or moisture. Sand any rough areas lightly if necessary.
• Repairs: Repair any imperfections, such as holes or cracks, and let the repair compound dry completely.
Measuring
Height and Width
• Measurements: Measure the height and width of the wall to determine the amount of wallpaper needed.
Calculate Rolls
• Pattern Repeat: Consider the pattern repeat when calculating the number of rolls. Add extra length to account for alignment and mistakes.
• Roll Quantity: Calculate the total square footage and divide by the coverage area per roll to determine the number of rolls needed. Round up to ensure enough wallpaper.
Hanging
Mark Guidelines
• Vertical Guidelines: Use a level and pencil to draw vertical guidelines for each strip, starting from the left corner or the center of the wall if working outwards.
Cut Strips
• Allow Extra: Cut wallpaper strips, allowing a few extra inches at the top and bottom for trimming. Use the breakaway knife from the install kit for precise cuts.
Peel and Stick
• Starting: Peel back a few inches of the backing from the top.
• Aligning: Align the strip with the guideline and press onto the wall.
• Smoothing: Smooth the strip with the felt squeegee from the install kit as you peel off more backing, working from the top down to avoid air bubbles and wrinkles.
Seam Alignment and Trimming
• Seams: Align the edges of the wallpaper strips carefully without overlapping. Butt the seams together for a seamless look.
• Pattern Matching: Pay close attention to the pattern and ensure it matches perfectly at the seams. Adjust the strips as necessary to align the patterns.
• Pressing the Seams: Use a seam roller to press the edges firmly, ensuring the wallpaper adheres well to the wall and the seams are smooth.
• Trimming: Use a straight-edge and the breakaway knife from the install kit to trim excess wallpaper at the ceiling, baseboard, and around fixtures.
Tips and Troubleshooting
• Pattern Alignment: Pay extra attention to aligning patterns. Adjust as needed before pressing firmly.
• Air Bubbles: If air bubbles form, use a pin to puncture and release the air, then smooth out the area.
• Corners and Edges: For inside corners, measure and cut the wallpaper to fit the angle snugly, allowing for slight overlap. For outside corners, wrap the wallpaper around the corner for a seamless look.
• Electrical Outlets and Switches: Turn off the power. Remove the outlet covers, and then wallpaper over the area. Cut out the wallpaper around the outlets and switches before replacing the covers. We have a 30-day return policy. If you are not satisfied with your purchase, you can return it for a refund or exchange within 30 days of receiving your order. Please reach out to our customer service team to initiate the return process.
Maintenance
Cleaning
• Wipe: When cleaning the wallpaper, wipe with a damp cloth. Avoid harsh cleaners which can damage the material.
Removing
• Peel: When removing, gently peel from a top corner and pull down at a 45-degree angle to avoid wall damage. If the wallpaper resists, use a hairdryer or heat gun to warm the adhesive for easier removal.
Best Results
For best results when installing your peel & stick wallpaper, it is essential to apply it onto smooth and clean surfaces. Avoid applying it onto freshly painted or papered walls; allow at least four weeks for the paint or wallpaper to dry. Refrain from applying the wallpaper to lacquered furniture, as it may not adhere properly. Please note that if furniture exposed to sunlight fades, it is not a result of our product. Additionally, this wallpaper may not work well on heavily textured surfaces. It is highly recommended to conduct a test in an inconspicuous area before applying it to wallpaper or any delicate surfaces. Lastly, keep decorations out of reach of young children and away from cribs to prevent any choking hazards. These instructions are crucial to ensuring successful and safe use of our Peel & Stick Wallpaper.
Peel and Stick Wallpaper
Remember, with the right tools, preparation, and patience, installing your peel and stick wallpaper can be a fun and rewarding DIY project. Don’t be afraid to get creative and personalize your space with your favorite patterns and colors. Happy decorating!

